Hey!! Today I'm going to show you how to make a duck tape pen. This was actually the first project I ever made. My mom showed it to me on The Pioneer Woman's blog. (if you would like to check out her blog, click here) I thought it was really cool and decided to try it out! Who knew it would lead to me becoming the Duck Tape Queen? ;) I like making pens because there are so many cool duck tape combinations you can do.
I'm very excited to show you, so let's get started!
 Here's what you'll need: One roll of green duck tape (or whatever color you want the stem), one roll of solid color for center and solid petals, one roll of design duck tape for petals (you can also use just another roll of solid, but I prefer design), and one pen/pencil.
 Take a five to six inch strip of the green duck tape (or whatever color you chose for the stem) and line it up with the pen so it's straight.
 Wrap the piece around so it's like this. There will most likely be some extra, just pinch it and trim.
 Take one piece about half an inch long of your solid color duck tape and cut it in half.
 Wrap it around the end. Get a tiny strip and fasten the sloppy parts sticking out.
 Now cut a piece about two inches long from the design duck tape (or whatever you're using).
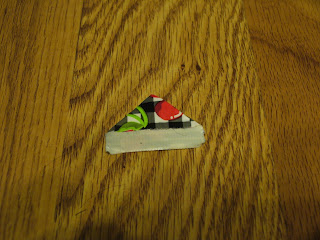
 Take a corner and fold it down so it looks like this.
 Take the other corner and stick the little bit of sticky down like this.
 Wrap it around the end of the pen/pencil.
 Do it two more times and wrap them the same way like so.
 Then take the solid color and do the same.
 It should look like this.
 Do it two more times. Wrap them around.
 Using the design, do the same thing, lining them up with the other row of design.
 You can keep going if you want, but I do four design and three accents. (otherwise it can look weird)
 Make three green petals and, lining them up with the accents, wrap them around like this.
 Then take a little half inch strip and wrap it around to cover wrinkles in the green petals.
 Time to show it off!! Take it to school, use it at home, it would also make a great birthday present! I give my projects to friends all the time. They always love them! Have fun!
I'm very excited to show you, so let's get started!


