July 28, 2013

Duct Tape Composition Notebook

 Hi! Today I'm going to show you how to make a duct tape composition notebook.
 Here's what you need: One composition notebook, three rolls of tape (two for the cover and one for the side), and scissors.
 First take a piece of one of the tapes for the cover and get a piece about the length of the cover. It's better if it's longer.
 Now line it up as much as possible with the bottom. Then stick.
 Then put it around the corner like this.
 Now fold the rest over.
 Do put the other tape for the cover overlapping the other one a little bit.
 Fold over the edge.
 Continue doing that until you get to the top.
 Now take the second kind of tape and cut it in half.
 Put one of the halves on the top and do what you did at the bottom for folding around the edge.
 Begin again on the back.
 Put the next kind on once again.
 So here the piece didn't go long enough. Just take a piece that can make it long...
 Then attach it to the end. Fold around the edge again.
 Now finish it off with the other half of the piece of tape.
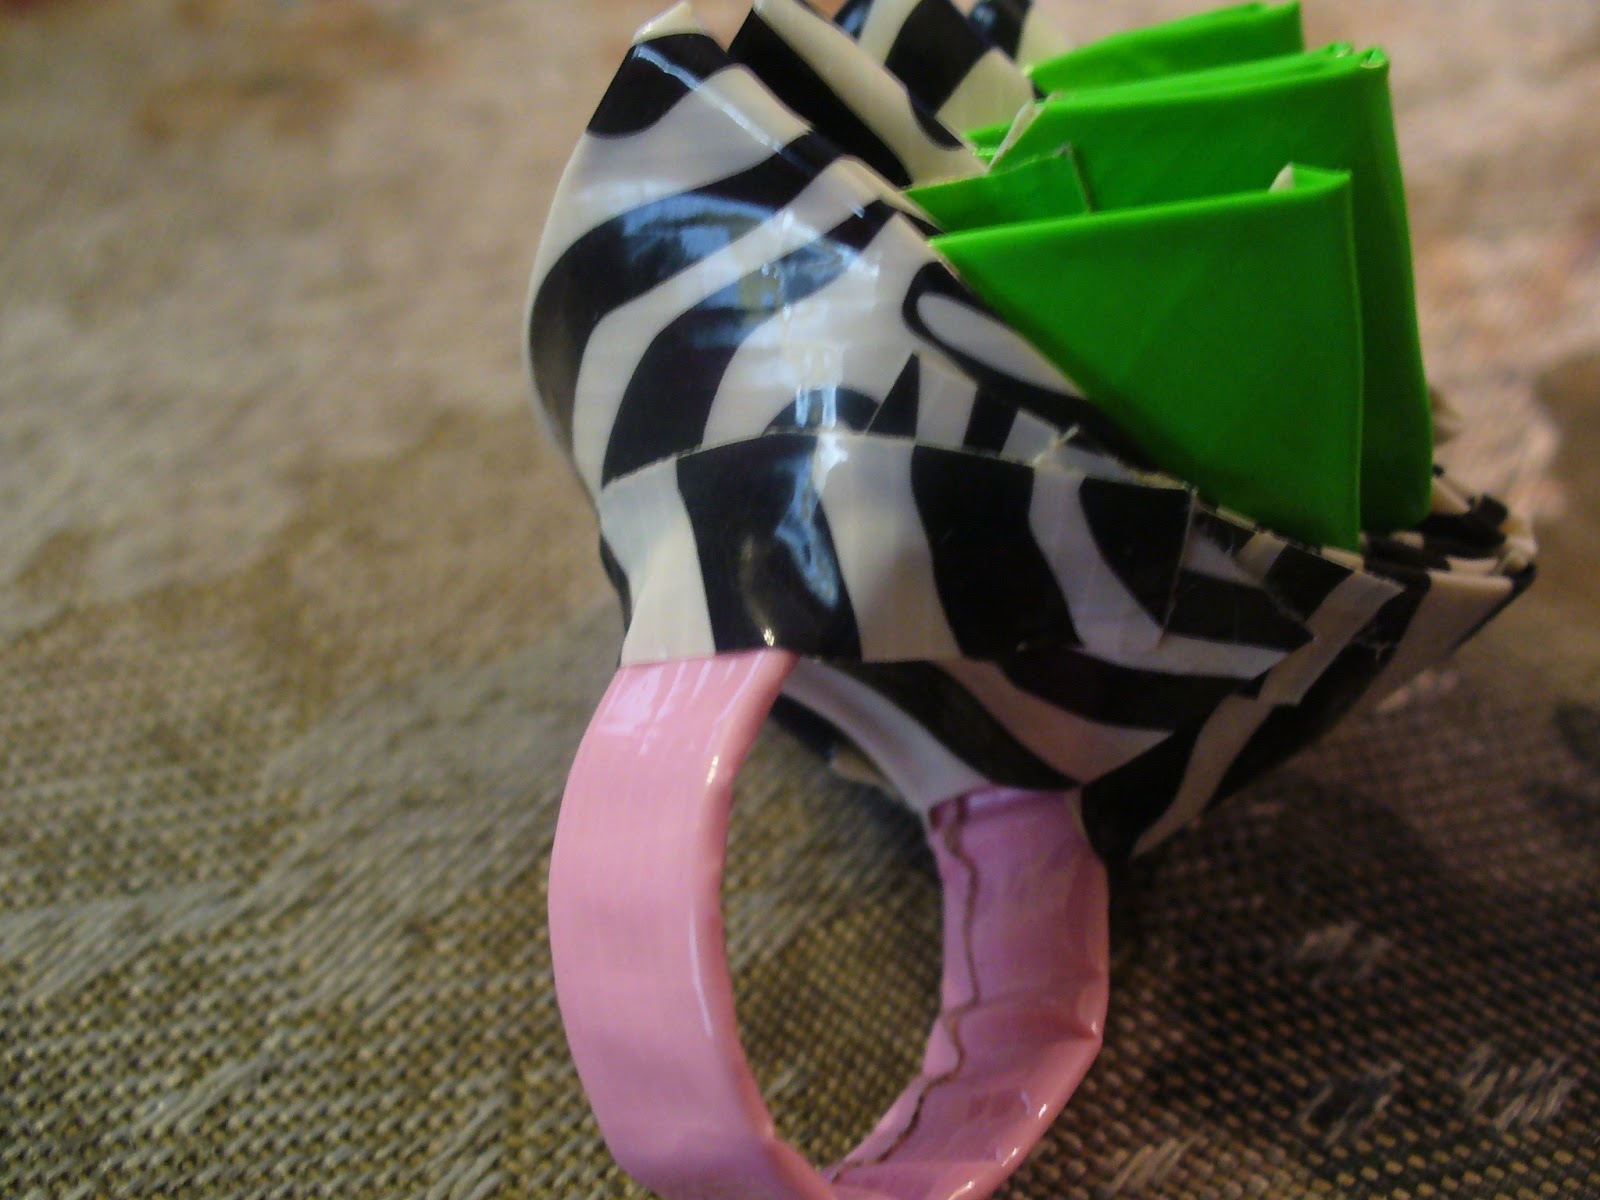
 At this point you will take the tape for the side and get a piece the length of the side.
 Wrap it around the side.
The rest is optional, but it does look a little more official if you do it (not that it looks official....).
 Take a piece of card stock however big you want the tag to be. Tape down the sides with one fourth of a piece the same length as the sides.
 Then do the same with the top and bottom.
 Now put whatever you want on the tag.
 Ta-da! You're finished! You can use these for school, as a journal, or just for random notes. They also make perfect gifts. In fact, I gave away the one made in this tutorial! So have fun being creative!

July 20, 2013

Duct Tape Flip Flops

Hi! Today I'm going to show you how to make duct tape flip flops. They are not 100% duct tape....
 Here is what you need: A pair of solid colored flip flops, two rolls of tape (it doesn't matter what kinds you use), and scissors (of course!).
 First take a piece of the base color and make it about  the length of  one of the straps.
 Stick it to the front or back, then wrap it around. It's okay if it's a little wrinkled at the bottom.
 Now do the same on the other side.
 Then take the other kind of tape and get a piece about half an inch long and cut it in half.
 Now stick one half to the middle and stick the corners to the bottom. I cut it in half at the bottom to make it a little easier.
 Now take a piece about half an inch and wrap it around one of the straps.
 Now do it again farther down. You can space them how you want.
 Now do it a third time.
 By now you should be at the bottom. so just do it one more time.
 Now begin again on the other side.
 Do it again...
 And again....
 And again. (Sorry the picture is blurry)
 Here's a close-up.
 Then you just do the same on the other flip flop, and you're done! Wear them with pride, knowing that you created them!!


July 2, 2013

BIG Bow Tutorial

 Today I'm going to show you how to make a big bow. Some of you may have already seen my bow tutorial, and if you have, this is almost exactly the same.


 First, here's what you need: Three rolls of duct tape, and in this one it doesn't matter at all what kinds you use. And then just a pair of scissors.
The next pictures disappeared so I'll have to explain them. You take one piece if tape about 5in. long.
Then you take another piece and overlap it just a little bit (and make sure they're sticky side up!).
Then take one more and do the same.
Next take one more and line it up with the bottom and put it so they stick together.
 Then take another piece and do what you did earlier but it should look like this.
 Then turn it upside down.
 Now take one more piece and line it up with (the new) bottom and stick it.
 Trim!
 Now there's two ways you can fan it, width wise,
 And lengthwise.
 Then take a piece about a third of an inch long and tape it in the middle. This is lengthwise,
This is width wise. You can also attach it to barrettes if you want.
I hope you enjoyed this and understood everything I said. Also, have fun making it!

June 22, 2013

Duct Tape Flower Ring Tutorial

Hi! This is a tutorial on how to make a Duct Tape flower ring. It's very pretty, but takes a while to make. So let's get started!  
 What you'll need is: One roll of tape for the ring, two rolls for the flower (I use one roll of patterned and one roll of solid, but you can use whatever you want!)
 First take the roll used for the ring and cut a piece about 5 inches long. It doesn't have to be exact.
 Fold it so it's a little less than half an inch wide, then make sure there's no sticky showing.
 Now trim the rough edges so they look nice.
 First you need to measure the piece around your finger to see if it fits with only about half an inch overlapping. If it does, you can skip this step. If it's too big trim the edges until it fits.
 Then take a piece of the same kind and cut a piece about the width of the ring.
 now take the part that overlaps (make sure it still fits!) and tape it with the small piece.

There's no picture for this step because it went missing while I was uploading the photos, so it could be pretty hard to understand what I mean.
Then take the solid tape for the flower and get a piece half an inch and put it so there's the same amount on either side of the ring. fold them up, stick, and twist. Then get another small piece and wrap it around the part now sticking up. This will be the base for the petals.
 Now, you may have seen my post on how to make a flower pen, but I'm going to show you how to make a petal. Take a piece an inch long and cut it in half. Now take one corner and fold it down so it's lined up the corner diagonal to it and stick.
 Now take the corner straight across from it and do the same, but also line it up with the line parallel to the bottom and stick.
 Now put it on the base and wrap it around. Do that three times all the way around.
 Now take the solid (used for the middle) and make another petal with it. Put it in between two of the other petals a little bit higher than them.
 Do that all the way around.
 Okay, so now you have to make there be two layers of each kinds of tape. Then you'll take the first one you used and start back at the bottom. Be sure to line it up with the last petal of that same tape, but still have it at the bottom.
 Do that all the way around.
At this point you will have finished the last one ( three patterned, two solid) and done the last step again. Now begin once more (don't worry, this is the last layer).
 Once you've finished, take one piece about half an inch of the patterned you used.
 You may want to trim it a little so you can't tell to easily that it's there. Then attach it to the bottom and sides.
 Now take a very small piece of the same tape.
 Wrap it around, partially to cover up anything you might not want showing, partially to secure the ring to the flower! You do NOT want the flower falling off!
 It most likely won't wrap all the way around so just cut another piece the same size and wrap it the rest of the way.
 You are now finished! Here's how mine turned out.
 Now you can wear it, and if you get asked where you got it, you can simply say, "I made it!".
Have fun making it and have fun wearing it!!