Hi! This is a tutorial on how to make a Duct Tape flower ring. It's very pretty, but takes a while to make. So let's get started!
What you'll need is: One roll of tape for the ring, two rolls for the flower (I use one roll of patterned and one roll of solid, but you can use whatever you want!)
First take the roll used for the ring and cut a piece about 5 inches long. It doesn't have to be exact.
Fold it so it's a little less than half an inch wide, then make sure there's no sticky showing.
Now trim the rough edges so they look nice.
First you need to measure the piece around your finger to see if it fits with only about half an inch overlapping. If it does, you can skip this step. If it's too big trim the edges until it fits.
Then take a piece of the same kind and cut a piece about the width of the ring.
now take the part that overlaps (make sure it still fits!) and tape it with the small piece.
There's no picture for this step because it went missing while I was uploading the photos, so it could be pretty hard to understand what I mean.
Then take the solid tape for the flower and get a piece half an inch and put it so there's the same amount on either side of the ring. fold them up, stick, and twist. Then get another small piece and wrap it around the part now sticking up. This will be the base for the petals.
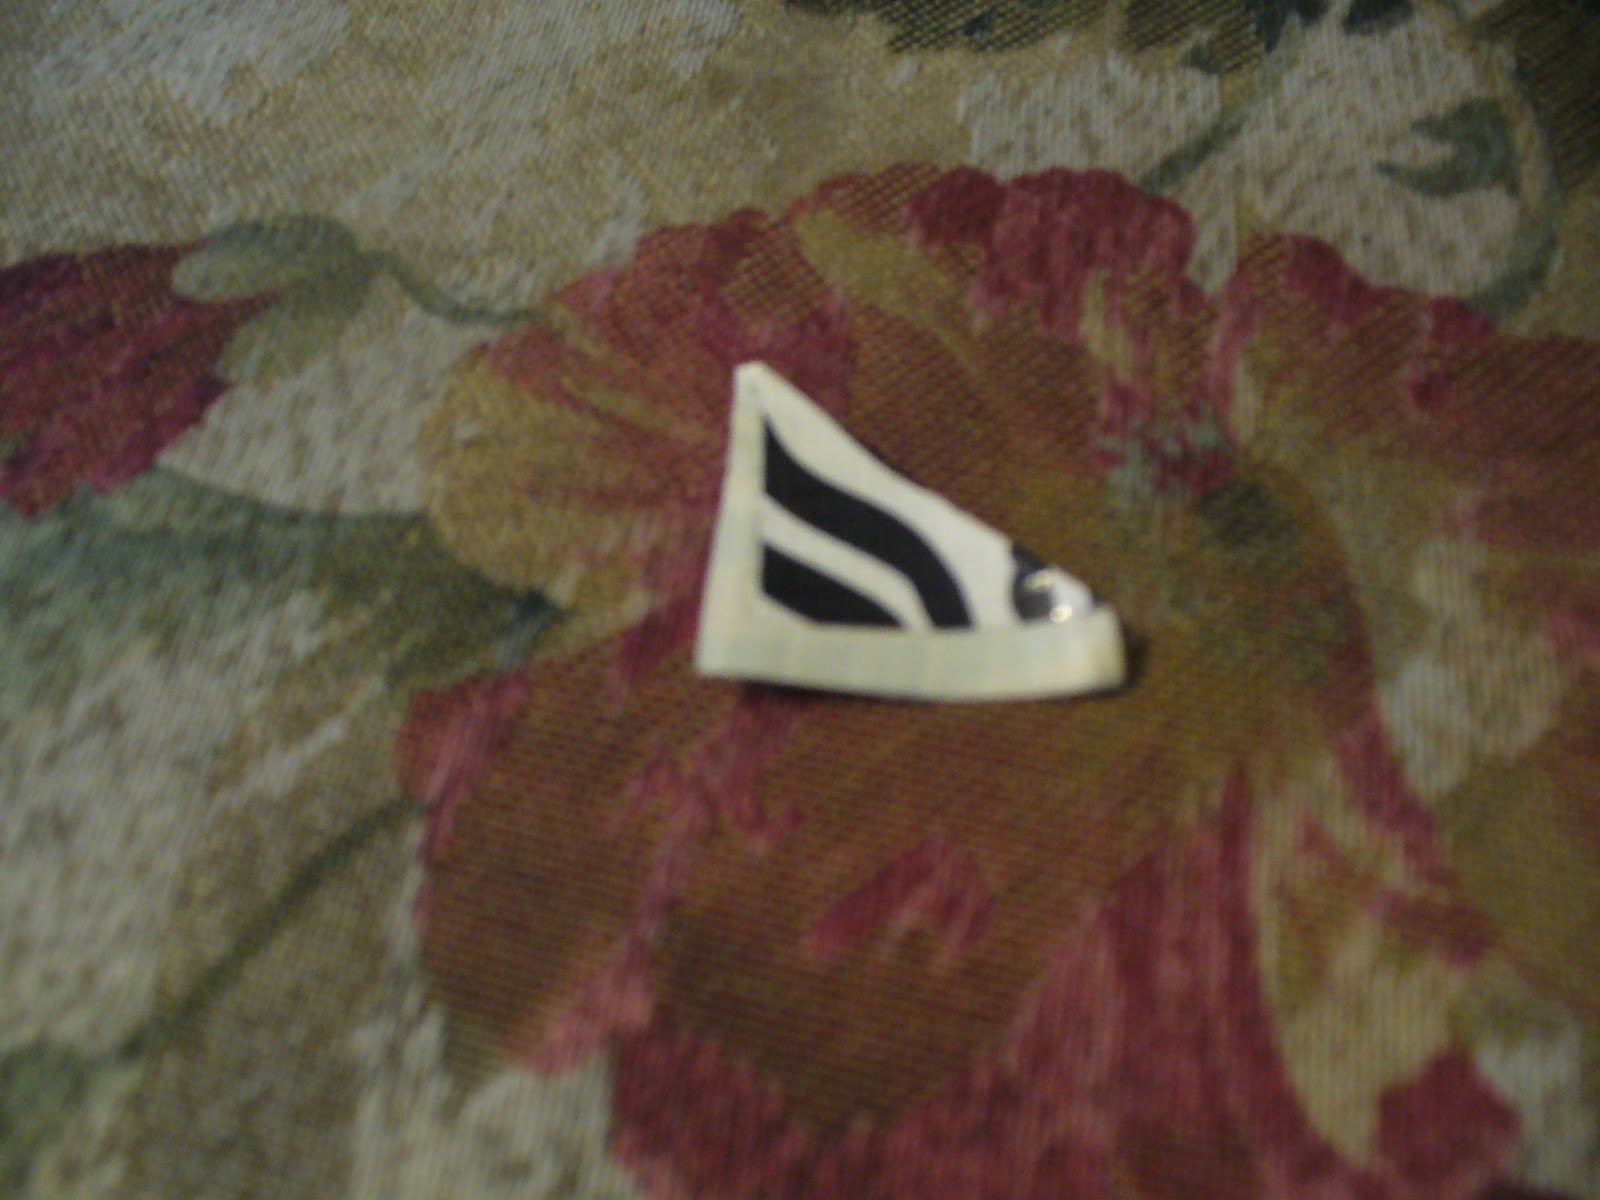
Now, you may have seen my post on how to make a flower pen, but I'm going to show you how to make a petal. Take a piece an inch long and cut it in half. Now take one corner and fold it down so it's lined up the corner diagonal to it and stick.
Now take the corner straight across from it and do the same, but also line it up with the line parallel to the bottom and stick.
Now put it on the base and wrap it around. Do that three times all the way around.
Now take the solid (used for the middle) and make another petal with it. Put it in between two of the other petals a little bit higher than them.
Do that all the way around.
Okay, so now you have to make there be two layers of each kinds of tape. Then you'll take the first one you used and start back at the bottom. Be sure to line it up with the last petal of that same tape, but still have it at the bottom.
Do that all the way around.
At this point you will have finished the last one ( three patterned, two solid) and done the last step again. Now begin once more (don't worry, this is the last layer).
Once you've finished, take one piece about half an inch of the patterned you used.
You may want to trim it a little so you can't tell to easily that it's there. Then attach it to the bottom and sides.
Now take a very small piece of the same tape.
Wrap it around, partially to cover up anything you might not want showing, partially to secure the ring to the flower! You do NOT want the flower falling off!
It most likely won't wrap all the way around so just cut another piece the same size and wrap it the rest of the way.
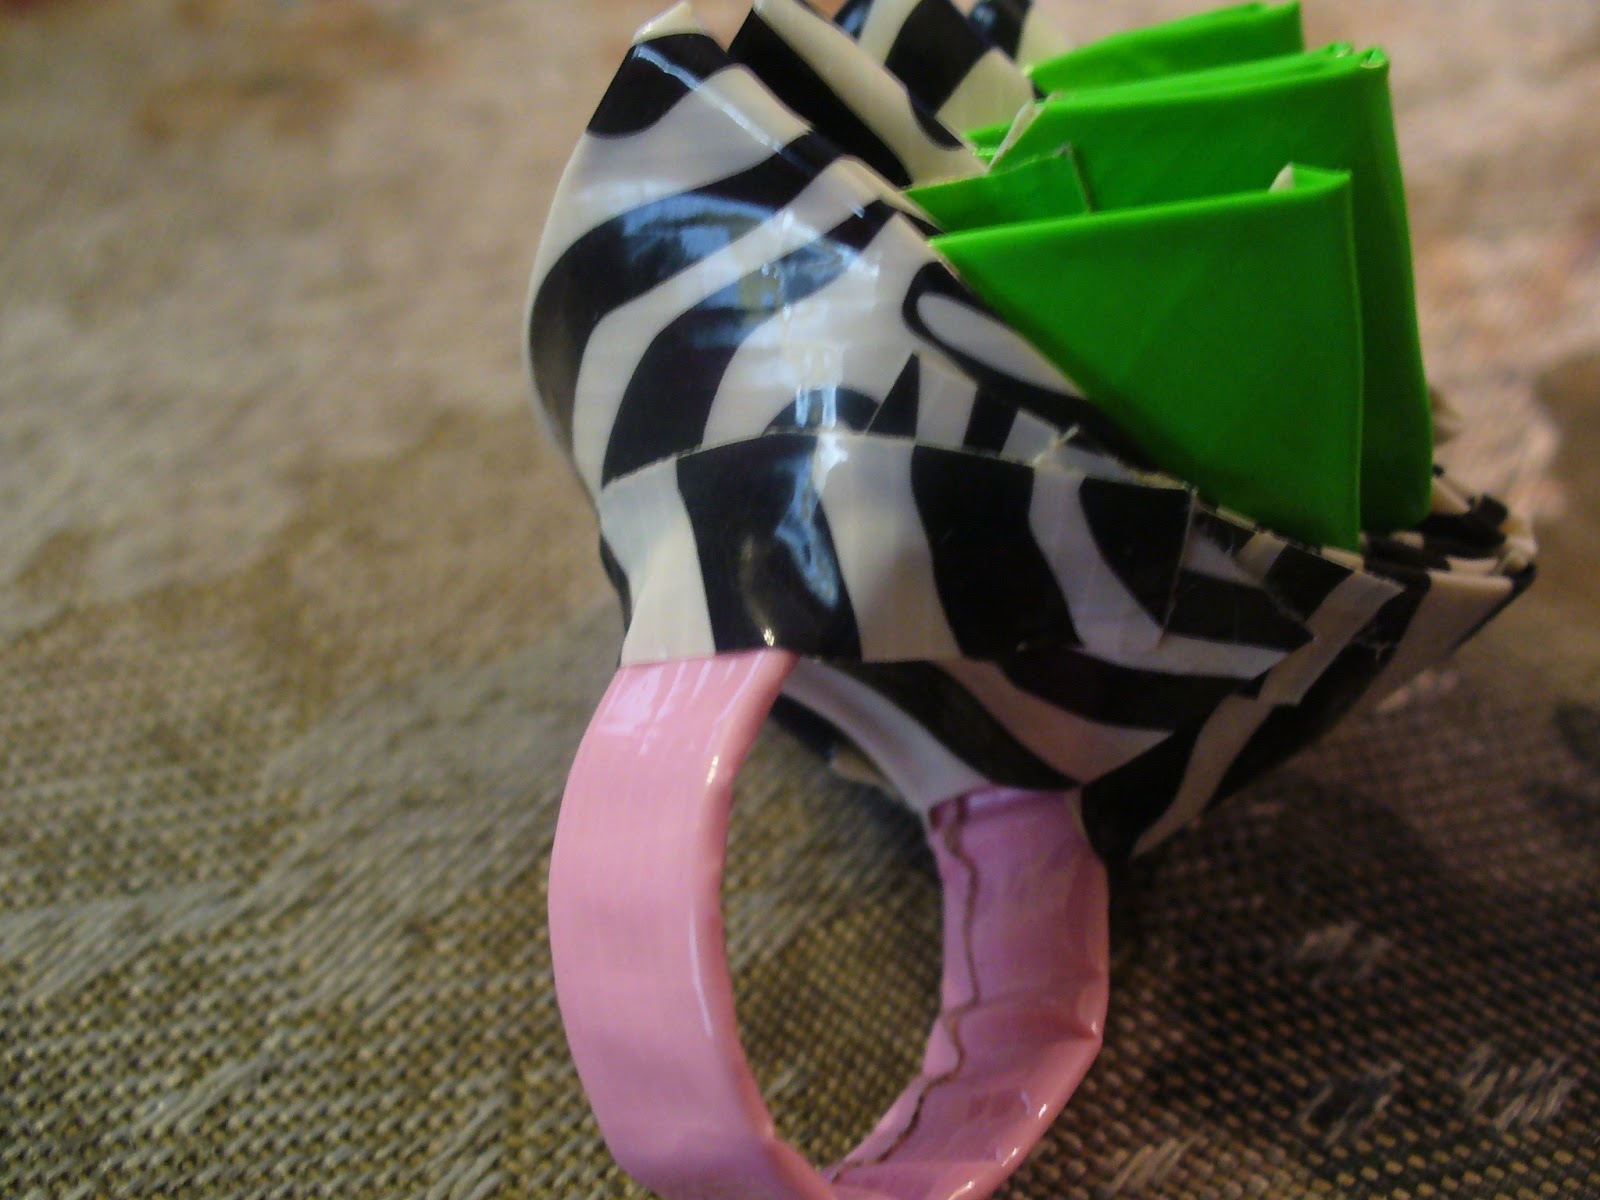
You are now finished! Here's how mine turned out.
Now you can wear it, and if you get asked where you got it, you can simply say, "I made it!".
Have fun making it and have fun wearing it!!


That is a really cool project! Your ring turned out great!
ReplyDeleteOMIGOODNESS!!!!!!!! Thats sooooo cool! I just figured out how to make rings out of wire and beads! Its so cool to wear stuff u made urself! keep at it ! :)
ReplyDelete