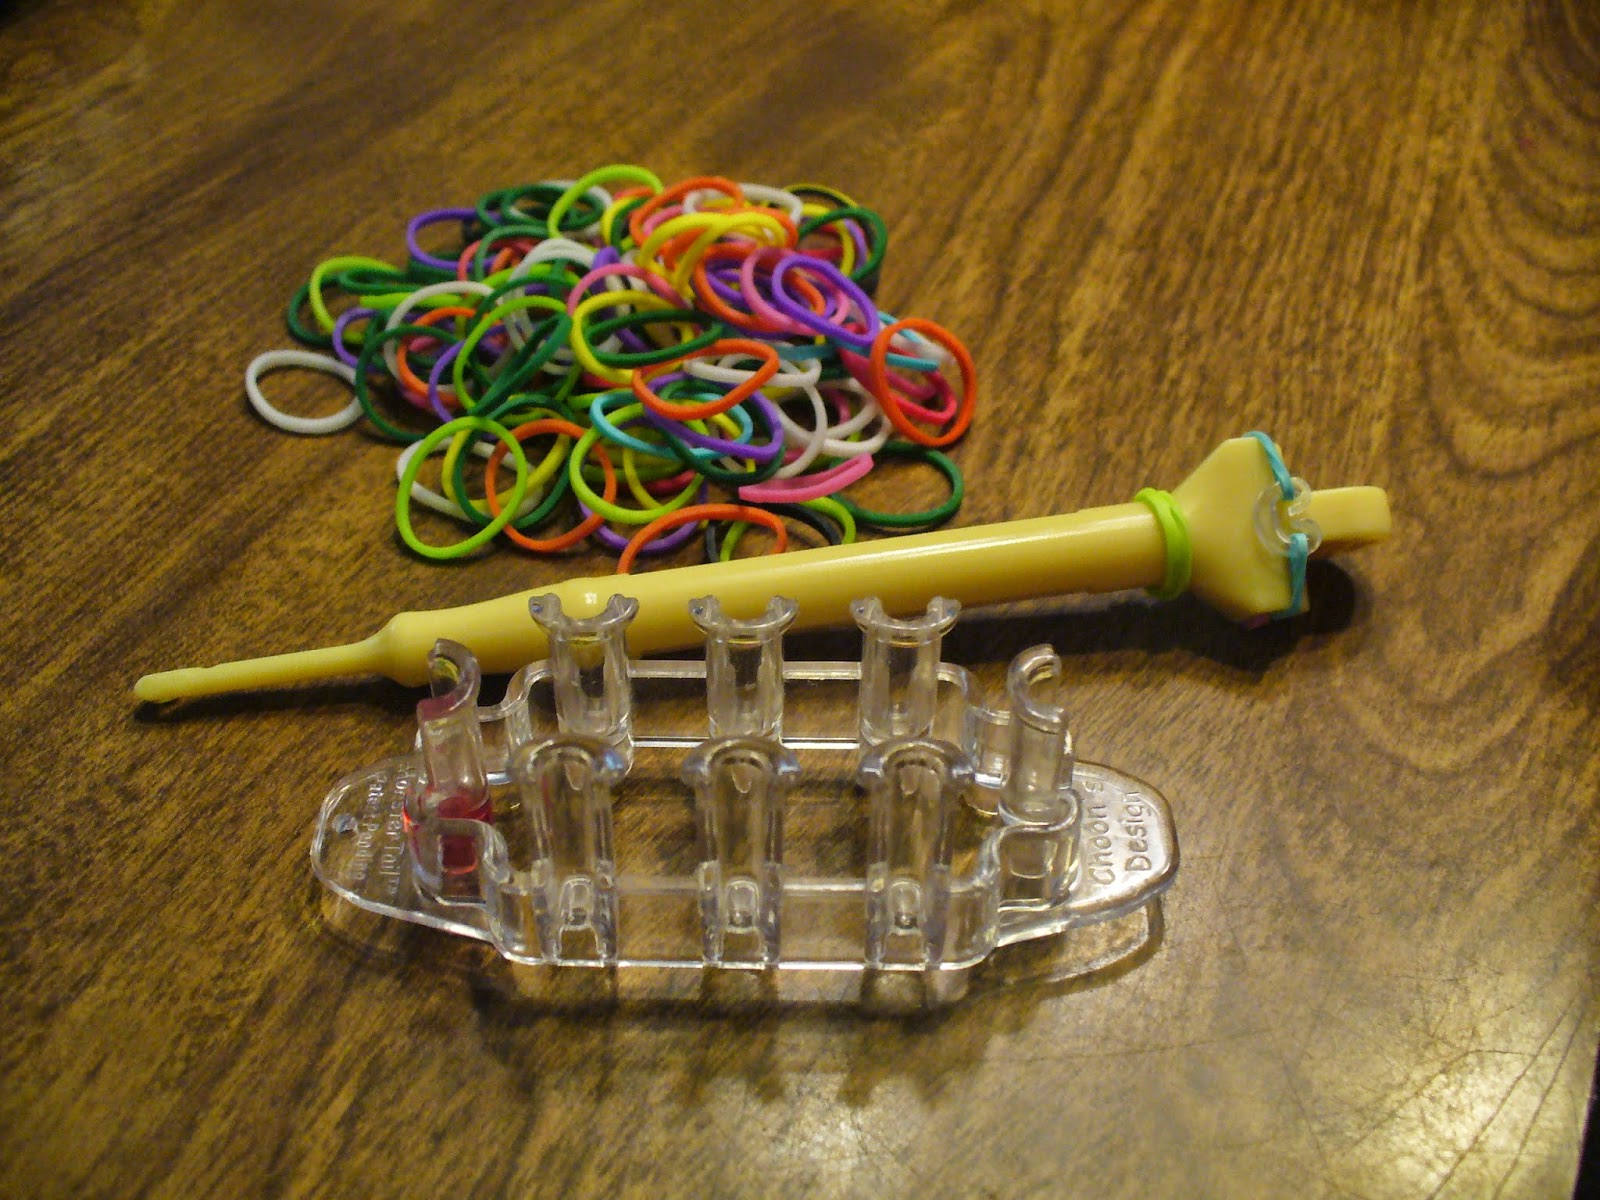
You will need: A Monster Tail loom, a hook (like the one in the picture below. You can buy one at a craft store, and they also come with the Rainbow Loom/ Monster Tail), and approximately 100 rubber bands (the ones sold specifically for these looms).
Take your Monster Tail out of the box and place it so that the red dot (which is on the left in this picture) is on the right.Now place your first band (for me it's black) in a figure eight across two pegs.
Then do the same thing on the one beside it.
Now take your next color (for me it's green) and place it horizontally from the bottom right peg to the one above and to the left of it.
Then do the same, but from the bottom left to the one above and to the right if it to make and X.
Take your next color (for me it's pink) and place it on the two right pegs.
Do the same on the left.
Now, using your hook, grab the very bottom left rubber band and hook it over into the center.
Do the same to the right.
Now flip your Monster Tail and do the same on the other side.
Turn it back so the red dot is on the right.
Then do the X again with your next color (for me it's teal).
Using your hook again, hook over the very bottom bands.
Now add the straight up and down bands...
Hook the very bottom bands over...
And continue this for a while. Soon it will start to come out the bottom like this:
And then eventually it will be the correct length. You can measure it along the way, but for me, it needs to be about 50 long (that's 100 bands). It may be shorter or longer for you.
Once you've added your last band and hooked over the bottom bands, instead of adding more bands...
Just hook over the bottom one again so there's only one layer.
Now take the bottom left band and hook it up to the top like this:
Do the same on the other side.
Then hook the bottom half of the band over the top, like this:
Do the same on the other side.
Now take a C- or S-Clip (I'm using a C-Clip)...
And attach it to one side like so...
Then with the one side still attached, take it off the peg and attach it to the other side.
Then take it off the loom. It should look like this:
Flip the bracelet around and pull two of the bands on this end so the loops are larger than the others...
Now, go back to the end with the C-Clip and pinch it like this. This is not require, but it makes it easier to attach the other end.
Now take the two big loops on the other end and attach them to the C-Clips like this:
And you're done!!
Here's what it looks like on:
These bracelets make great gifts, or just bracelets for you to wear!! They're super cute and stylish, and would also make good friendship bracelets. If you try this craft, I hope that it turns out well, and happy back to school! Wait... what am I saying? :)


No comments:
Post a Comment